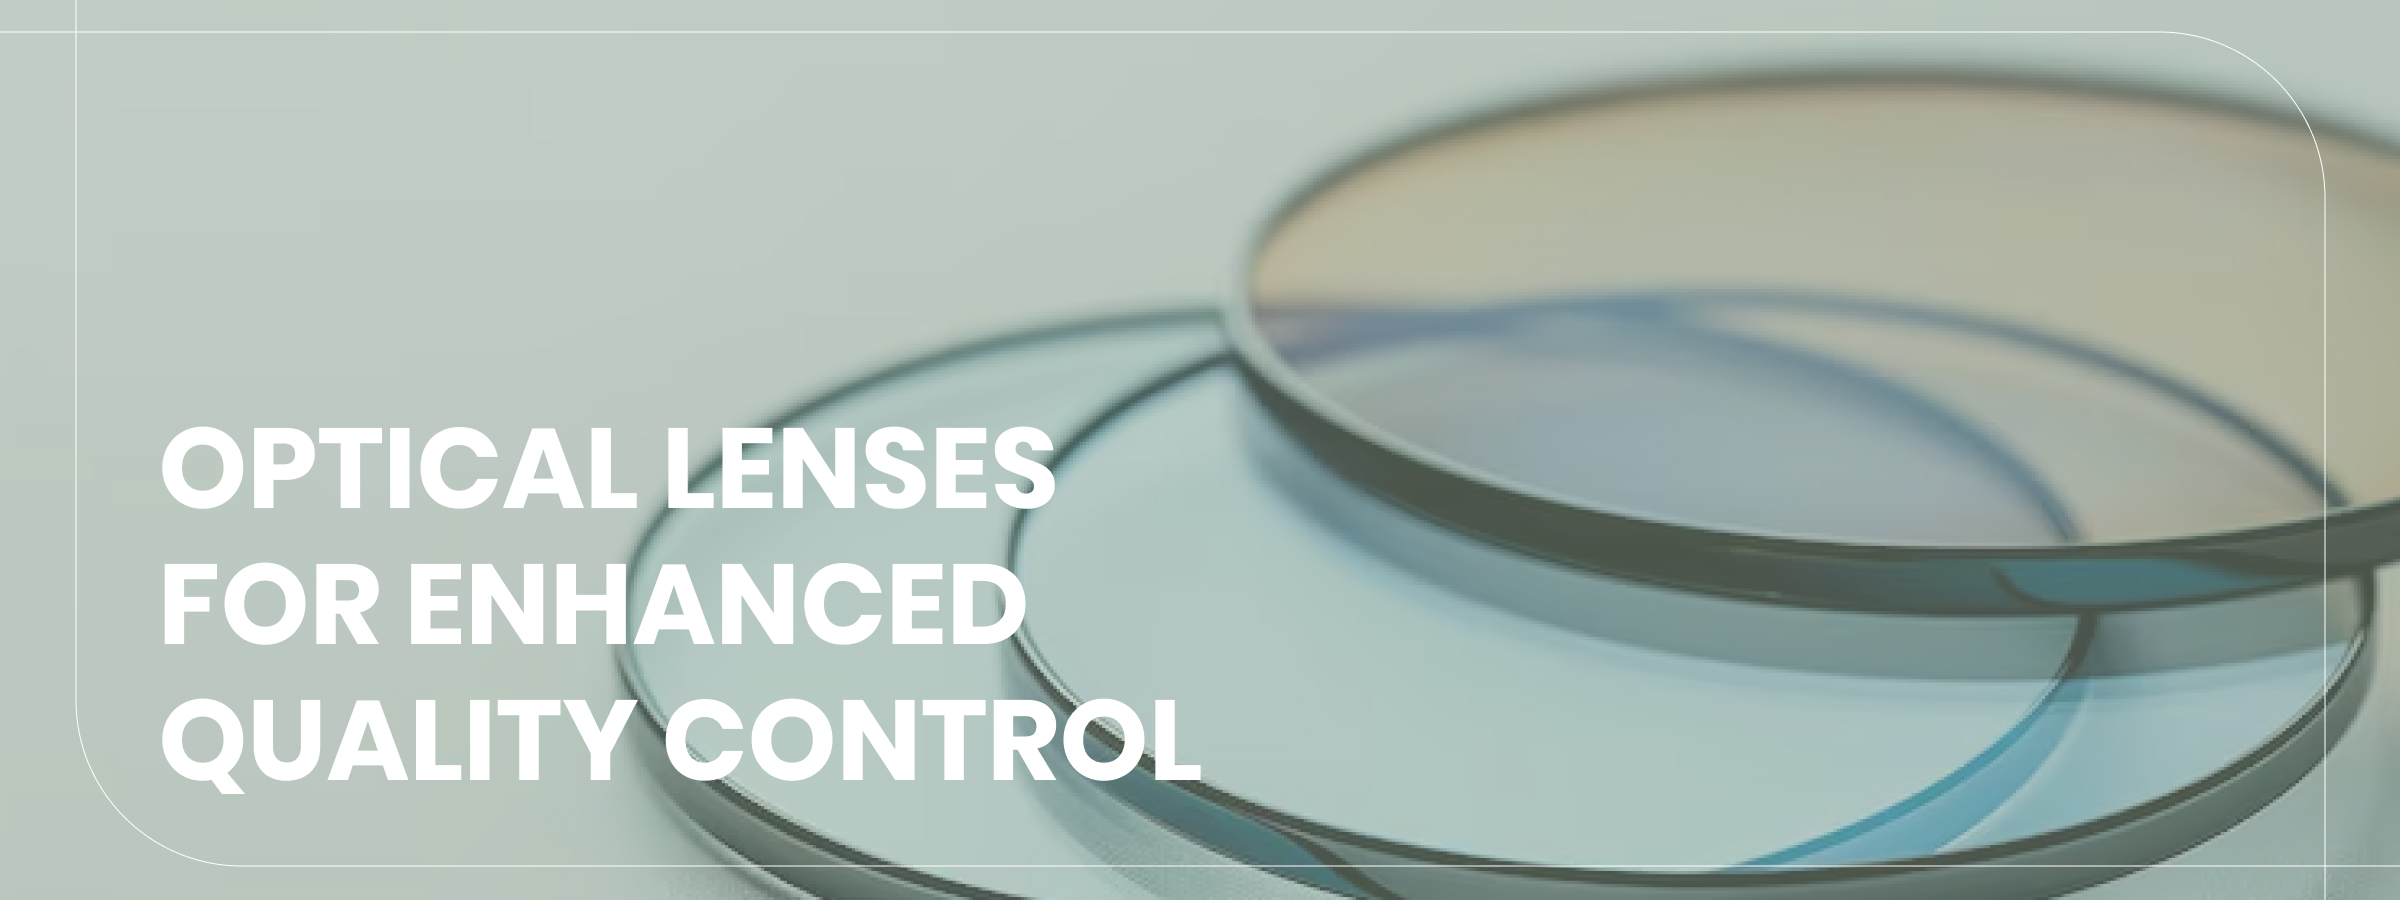
This application note describes quality control (QC) practices for optical lens manufacturing, with emphasis on what can be measured, what must be controlled, and what limitations exist, particularly for polymer optical lenses.
It is intended for optical, manufacturing, and quality engineers responsible for ensuring functional performance, repeatability, and reliability across prototype, pilot, and production volumes.
This document avoids implying zero-defect manufacturing and instead focuses on controlled variation, verification methods, and risk management.
What quality control means in optics
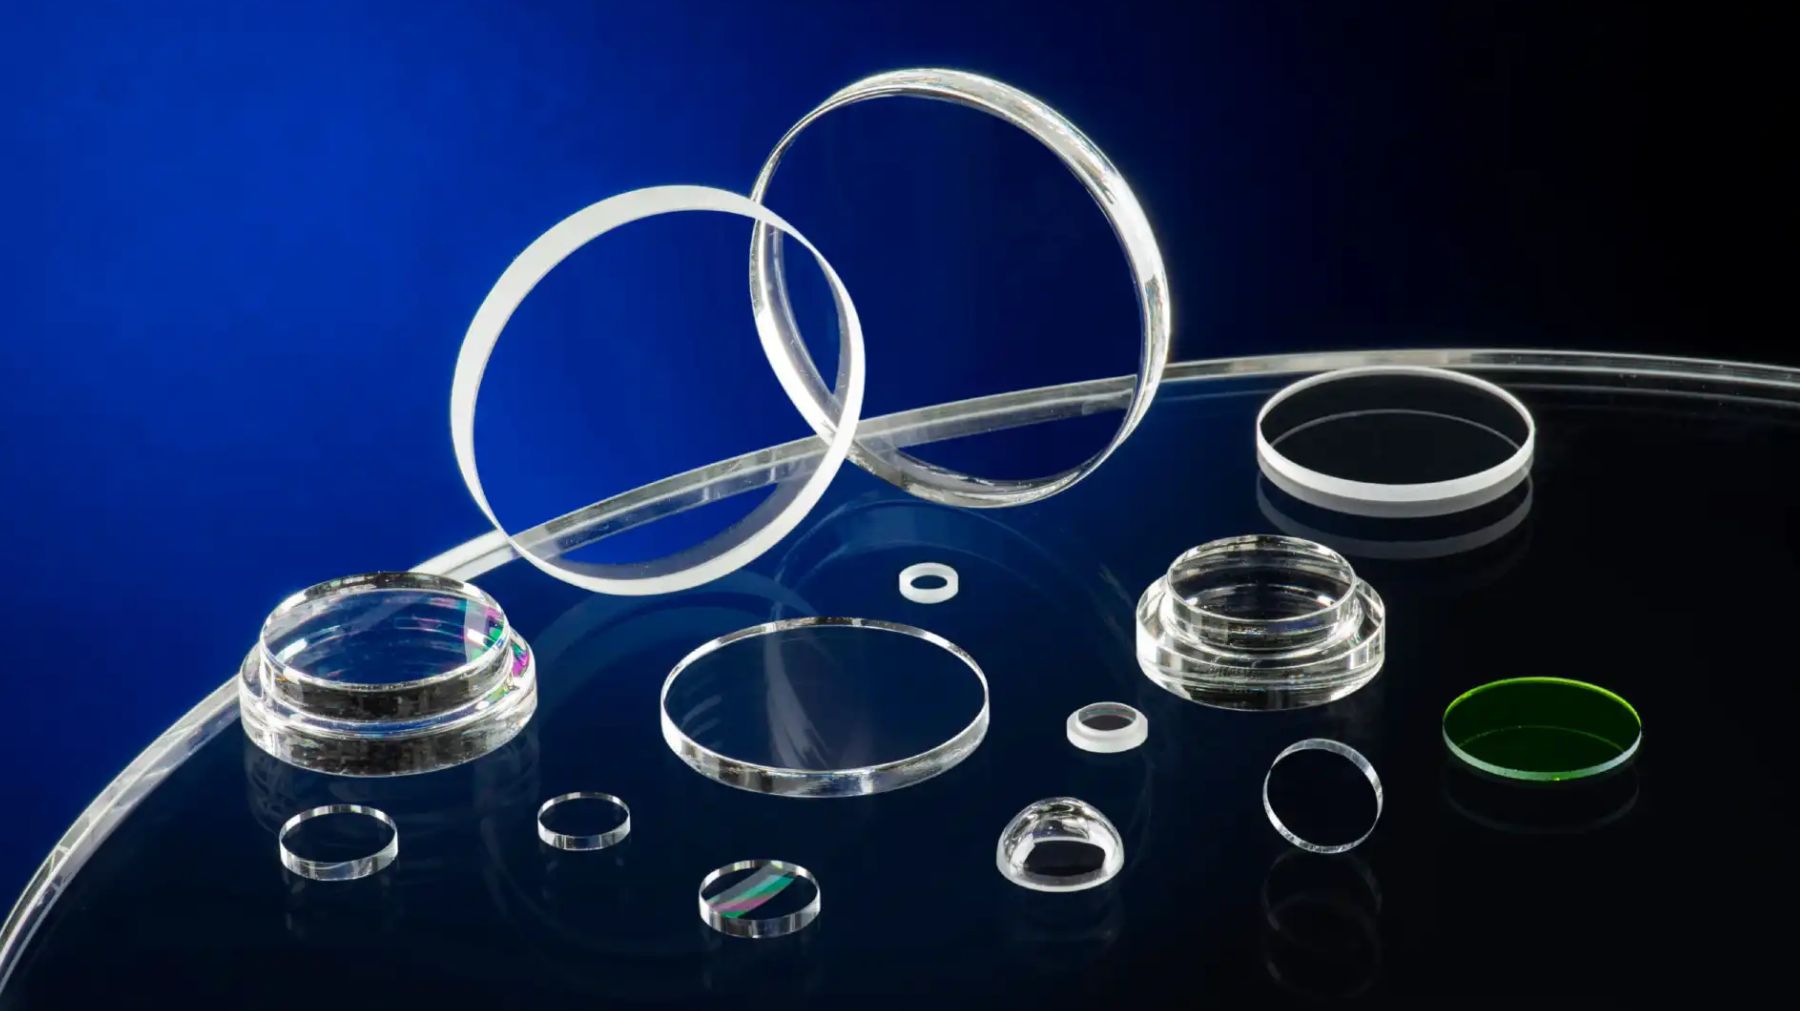
In optical manufacturing, quality control is not a single inspection step.
It is a system of controls spanning:
Design intent
Process capability
Inspection strategy
Feedback and correction mechanisms
Optical QC ensures that lenses meet functional requirements, not just cosmetic or nominal specifications.
Key quality dimensions in optical lenses
Optical performance
Relevant metrics may include:
Surface figure or wavefront error
Modulation transfer function (MTF)
Focal length and back focal distance
Transmission and scatter
Not all metrics are required for every application. QC plans must reflect what actually matters to system performance.
Dimensional accuracy
Dimensional control includes:
Thickness
Diameter
Feature geometry
Alignment features and datums
Dimensional tolerances should support optical performance, not exceed process capability unnecessarily.
Surface quality
Surface quality affects:
Scatter
Stray light
Coating adhesion
Surface defects must be evaluated relative to functional impact, not aesthetic preference.
Polymer-specific quality considerations

Polymer lenses introduce additional QC considerations compared to glass:
Higher thermal expansion
Viscoelastic behavior (creep and stress relaxation)
Sensitivity to molding conditions
Environmental dependence
As a result:
Measurements taken immediately after molding may differ from stabilized values
Temperature and handling conditions during inspection matter
Long-term behavior must be considered in acceptance criteria
Polymer QC must account for time and environment, not just geometry.
Process control vs. end-of-line inspection
Process control
Effective QC prioritizes process stability, including:
Defined molding parameters
Controlled cooling and demolding
Tool condition monitoring
Material lot traceability
Stable processes reduce reliance on aggressive end-of-line inspection.
End-of-line inspection
Inspection may include:
Optical testing
Dimensional measurement
Visual inspection
Functional testing
Inspection alone cannot compensate for an unstable process.
Measurement and metrology considerations
Optical QC depends on:
Appropriate measurement techniques
Known measurement uncertainty
Repeatable setups
Measurement systems must be:
Suitable for the feature being measured
Calibrated and maintained
Matched to tolerance requirements
Overly tight tolerances relative to measurement capability create false failures.
Coatings and post-processing inspection
When lenses are coated or post-processed:
Optical performance should be re-verified
Coating stress effects must be considered
Adhesion and durability may require validation
Coated optics should not be assumed to retain pre-coating performance without verification.
Sampling strategies and volume considerations
QC strategies vary by production volume:
Prototypes: comprehensive inspection
Pilot runs: focused verification of critical features
Production: statistically informed sampling
Sampling plans should be based on:
Process capability
Risk assessment
Application criticality
Small-batch production does not eliminate the need for discipline.
Documentation and traceability
Quality control requires:
Documented inspection criteria
Clear acceptance limits
Traceability to material and process conditions
Change control for design or process updates
Documentation supports:
Root cause analysis
Continuous improvement
Customer and regulatory audits
Common failure modes in optical QC
Common issues include:
Over-specification without functional justification
Cosmetic rejection of functionally acceptable parts
Ignoring environmental effects
Assuming prototype performance scales automatically
Effective QC focuses on risk reduction, not perfection.
Validation beyond inspection
For performance-critical applications, QC must be supplemented by:
Environmental testing
Thermal cycling
Long-term stability assessment
Inspection verifies conformity; validation verifies fitness for use.
Summary
Quality control in optical lens manufacturing is a balance of:
Process stability
Meaningful measurement
Realistic tolerances
Application-specific validation
For polymer optics, QC must explicitly account for material behavior and time-dependent effects.
Inspection alone is insufficient — quality is engineered into the process.
Key takeaway for engineers
When defining optical lens quality control:
Measure what matters
Control the process first
Understand material behavior
Match tolerances to capability
Validate under real conditions
Reliable optics come from engineering discipline, not inspection volume.
How Apollo Optical Systems Supports Advanced QC with Optical Lenses?
Apollo Optical Systems specializes in designing and manufacturing custom optical components that support high-precision quality control across industries. Their expertise spans polymer optics, diffractive lenses, microlens arrays, and coatings, enabling manufacturers to deploy reliable inspection systems.
Here’s how we can assist you:
Custom Lens Design: Apollo’s design services tailor lens properties to the specific inspection requirements, improving defect detection and yield.
Rapid Prototyping: SPDT and in-house modeling allow quick development of inspection lenses, reducing lead time and accelerating system deployment.
Scalable Production: High-volume polymer injection molding ensures consistent lens quality across thousands or millions of units, supporting throughput and cost stability.
Advanced Coatings: AR and metallic coatings improve light transmission and reduce glare, critical for accurate inspections in reflective environments.
Assembly and Testing: Apollo integrates lenses into inspection sub-assemblies and performs rigorous metrology, ensuring operational reliability and repeatability.
ISO-Certified Quality Assurance: Supports regulated industries such as medical devices, aerospace, and automotive, ensuring inspection repeatability and compliance.
With these capabilities, Apollo Optical Systems helps manufacturers implement inspection solutions that reduce scrap, improve yield, and maintain consistent operational KPIs.
Conclusion
Optical lenses play a critical role in modern quality control, directly influencing inspection accuracy, throughput, and overall production efficiency. By focusing on the right properties, technologies, and types of lenses, manufacturers can improve defect detection, reduce scrap, and stabilize yields across their production lines.
Investing in advanced optical lenses and partnering with experienced providers ensures that inspection systems remain reliable and future-ready. Experts like Apollo Optical Systems ensure access to precision lenses, advanced coatings, and integrated support from design through high-volume production.
Connect with us today to explore how Apollo Optical Systems can support your quality control systems with precision optical lenses.
FAQs
1. How do telecentric lenses improve accuracy in quality control?
Telecentric lenses maintain a constant magnification regardless of object distance, eliminating perspective errors. This ensures precise dimensional measurements and consistent imaging, making them ideal for high-accuracy quality control in manufacturing and inspection processes.
2. What role do machine vision lenses play in defect detection?
Machine vision lenses capture sharp, high-resolution images for automated inspection systems. By providing clear, distortion-free visuals, they enable software to accurately identify defects, inconsistencies, or irregularities on products, improving quality control efficiency and reducing errors.
3. Can aspheric lenses enhance optical quality control processes?
Aspheric lenses reduce optical aberrations and improve image clarity compared with standard spherical lenses. This allows precise detection of minute defects, sharper imaging, and better consistency in quality control applications, especially where fine details are critical.
4. How do optical lenses support non-contact inspection methods?
Optical lenses focus and magnify objects without physical contact, enabling accurate measurement and surface analysis. Non-contact inspection, such as laser or camera-based systems, relies on lenses to deliver precise imaging while avoiding potential damage or contamination of the product.
5. What applications use specialized lenses for surface flaw detection?
Specialized lenses are used in electronics, automotive, aerospace, and medical device manufacturing to detect scratches, cracks, or surface irregularities. They enhance imaging systems for precise flaw detection, ensuring product reliability, safety, and compliance with stringent quality standards.
